


Congratulations, you have completed the onboarding!
Your next step is to add Euro’s to your wallet and start paying with your Gnosis Pay card. Next you can add and manage your account for which you will find an instruction below too.
During onboarding accounts have been (or are being) created: one connected to Monerium, which you can recognise by the IBAN number connected to the account number. The other account is connected to your Gnosis Pay card. It is wise to give these accounts appropriate names, which you can do by pressing the settings wheel in the account dashboard, select an account and press edit. Below picture illustrates the Monerium account and Gnosis Pay account which were renamed and a Greenhood account which was manually added.

Adding EURe to your Greenhood wallet
Adding EURe to your wallet is now straightforward. You have to make a bank transaction for a certain amount of Euro to your Monerium IBAN. After a short period (within 1 day), your Euro’s will appear as Eure on in your Greenhood wallet Monerium account.
Pay with your Gnosis Pay card
In order to start paying with your Gnosis Pay card, you first have to transfer EURe in your wallet from your Greenhood wallet Monerium account to your Greenhood wallet Gnosis Pay account. You can do this by using the “send” button in the home screen. Once the amount has been transferred, you will be able to use your Gnosis Pay card at shops for the amount which is in your Greenhood wallet Gnosis Pay account.
Note: sending and activating your Gnosis Pay card may take a couple of days, so your Greenhood wallet Gnosis Pay account may not be visible yet. During this time your Greenhood wallet Monerium account may already be completed, and you can start sending money to this account. Only after the Gnosis Pay card has been activated, the second Greenhood wallet Gnosis Pay account becomes visible.
Managing your accounts
In Greenhood, your accounts are the foundation of everything you do. They are where you store your money, send payments, and connect to services. Unlike a traditional bank, Greenhood accounts live on the blockchain, which means you own them fully. You hold the keys, you stay in control, and no one else can touch what’s yours.
This guide explains what accounts are, how to add new ones, import existing ones, and manage your list of accounts in the Greenhood Wallet.
What are accounts in Greenhood?
When you first join Greenhood, you automatically get your first account. Think of it like a bank account, but instead of sitting at a bank, it exists directly on the blockchain. That makes it not only safer but also truly yours, since only you hold the keys.
Your account is linked to your access code (also called a seed phrase), which you can find in your settings. Be sure to back this up securely: it’s the only way to restore your account if you ever lose access.
Accounts have an address that starts with 0x… followed by a long string of letters and numbers. In Greenhood, this is often shown with a prefix that indicates which blockchain the account belongs to. By default, Greenhood uses Gnosis Chain, so accounts are shown with the prefix gno:.
Under the hood, Greenhood accounts are powered by SAFE smart accounts, a widely trusted standard for blockchain security. That’s why you may sometimes see accounts referred to as “SAFEs.”
In short: your account is your online safe, and you’re the only one with the keys.
How to add a new account
There are many reasons to create an extra account, maybe you want a shared account for a holiday trip, or a personal savings account. Creating one is simple:
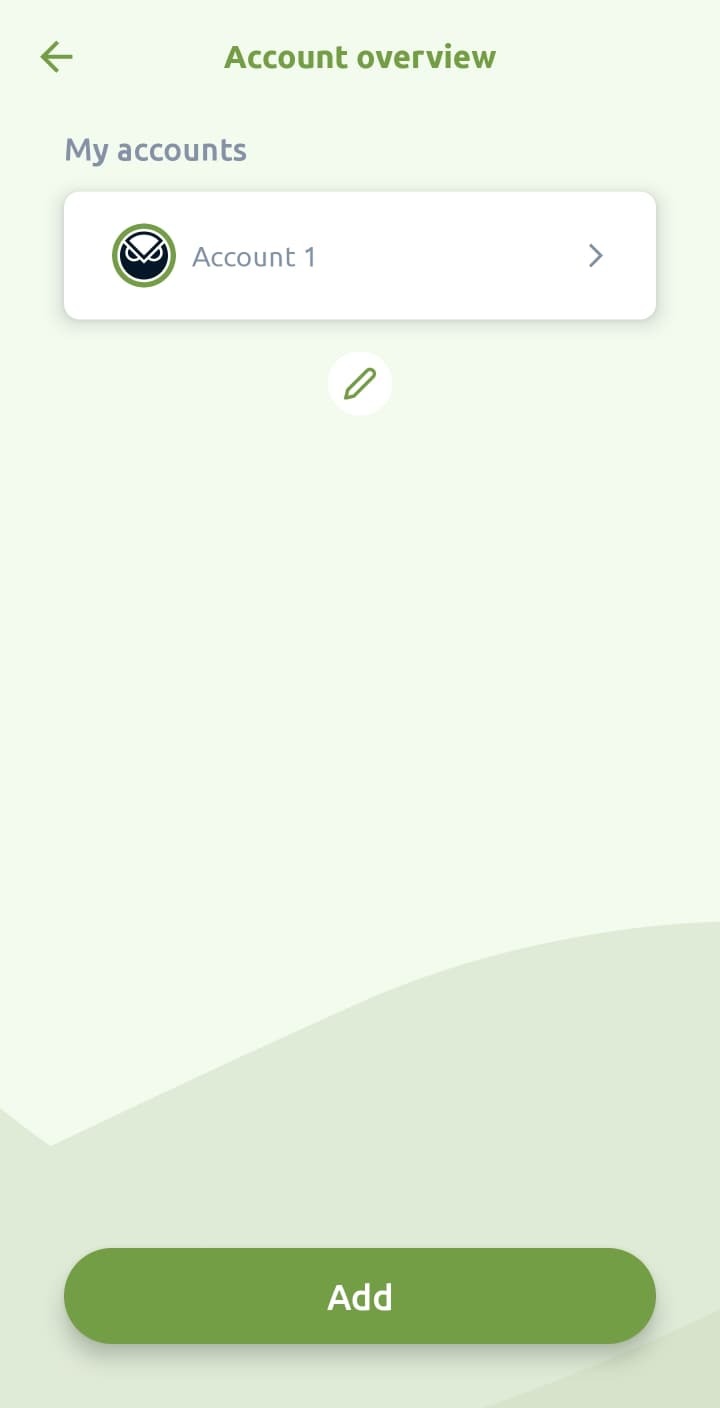
- Go to Settings > Account management
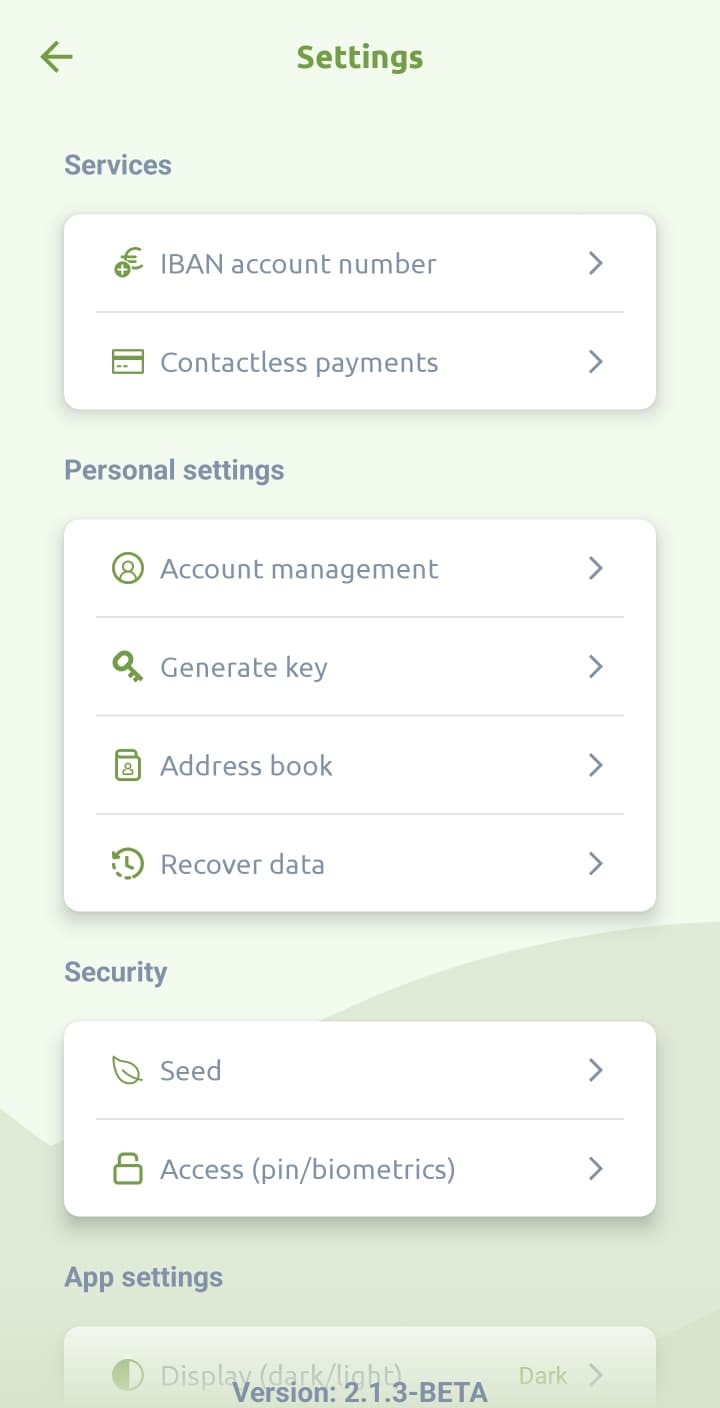
- Tap ‘Add’ at the bottom
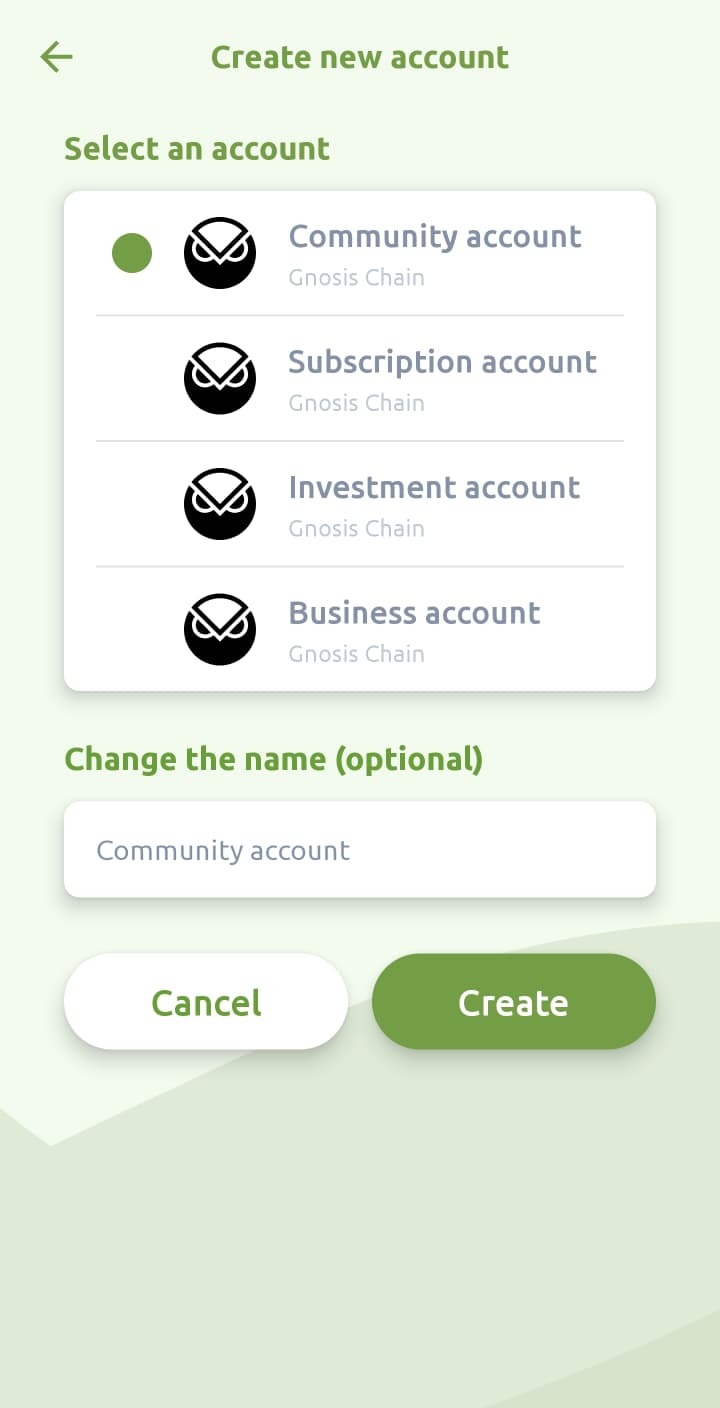
- Select ‘Create account’

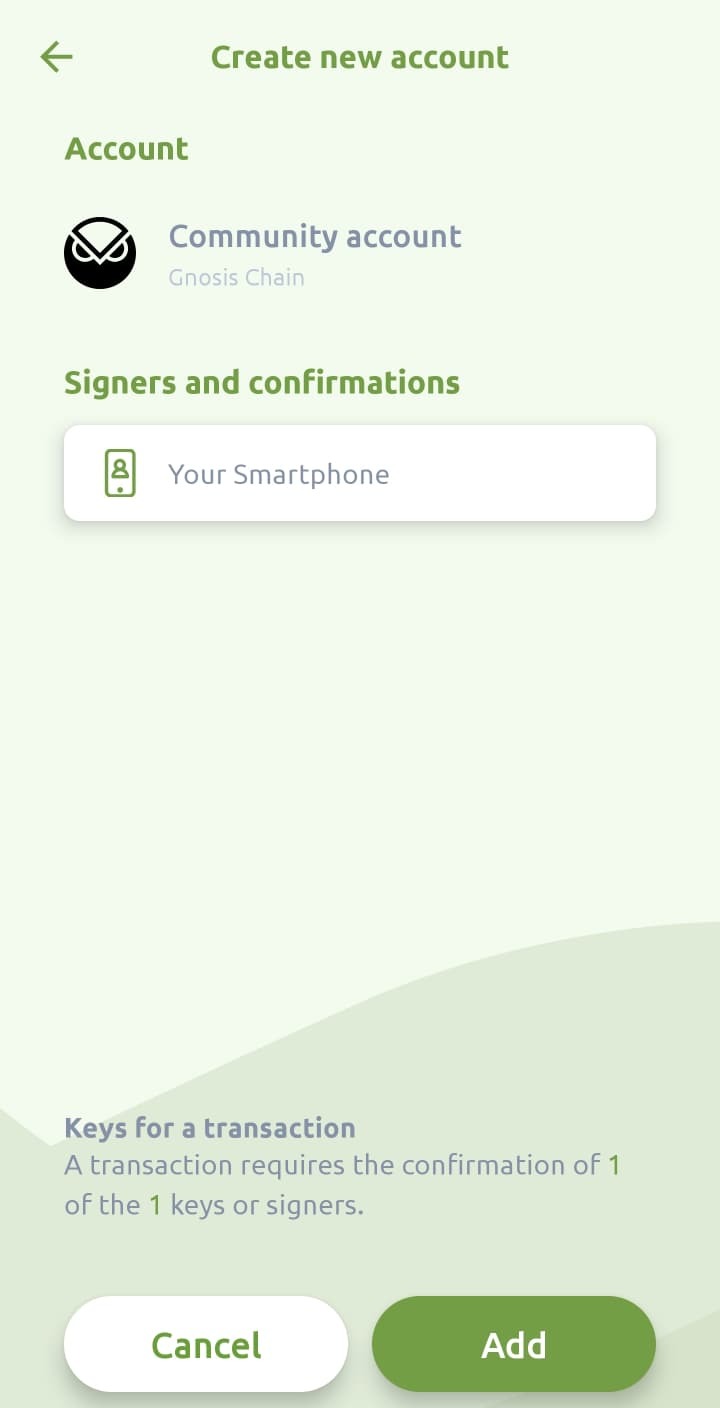
- Choose a type of account. The suggested names are just inspiration, you can also type your own. Tap ‘Create’ to confirm the name.
- Confirm your new account creation if all is looking as desired.
How to add an existing account
You can also add accounts that were not created with your seed phrase, for example if you want to keep an eye on balances and transactions from another wallet.
- Go to Settings > Account management

- Tap ‘Add’ at the bottom
- Select ‘Add existing account’
- Now paste in the account address, including the prefix. Meaning the account starts with gno:0x…
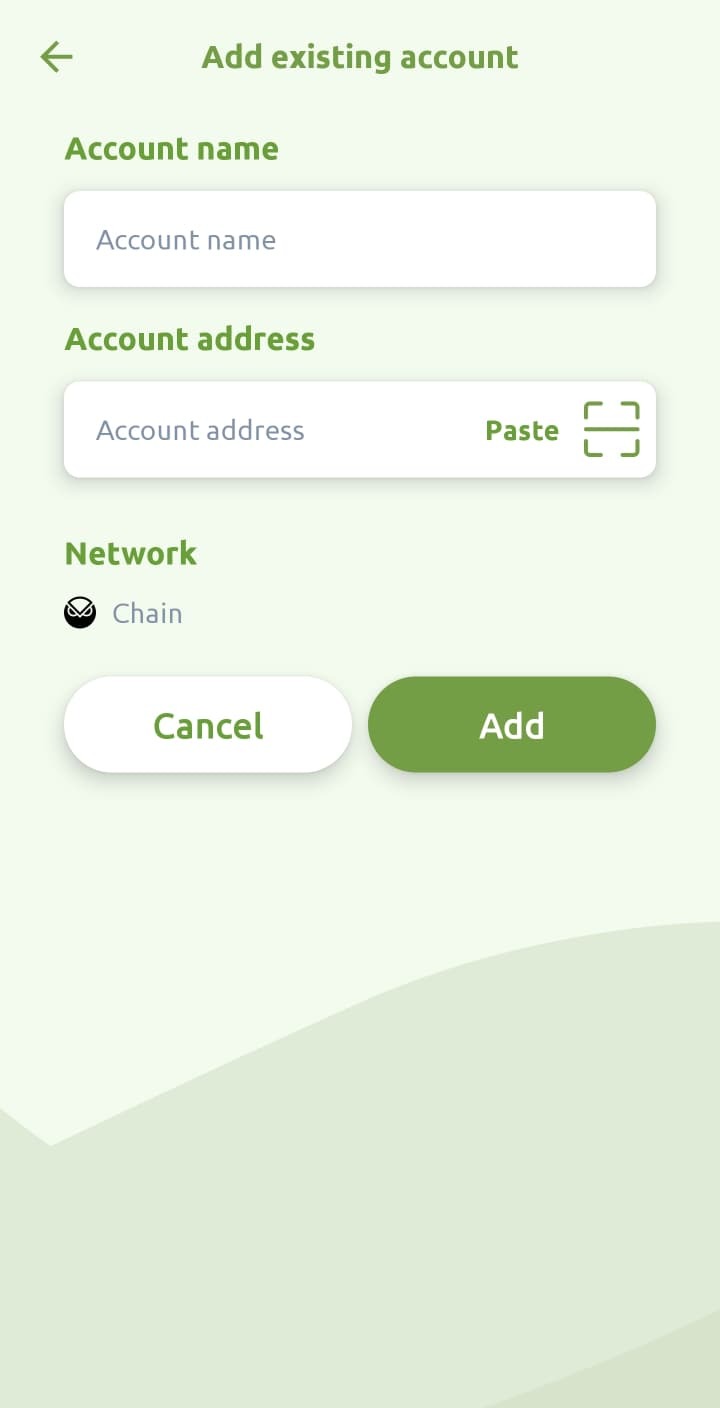
- Give it a name and tap ‘Add’.
How to hide or show your accounts
Over time, you may end up with many accounts. Some you’ll use daily, others only occasionally. You can hide accounts from your main view and bring them back whenever you like:
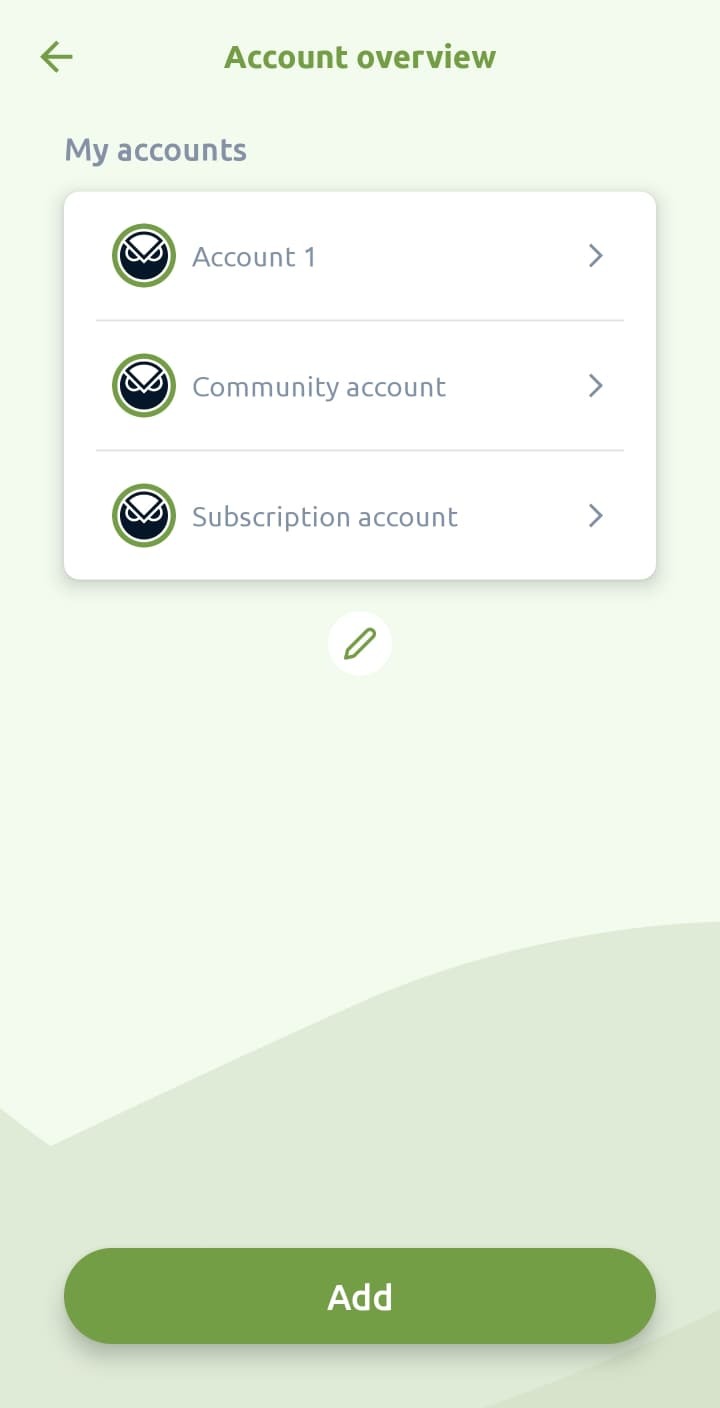
- Go to Settings > Account management
- Tap the pencil icon below the list of accounts
- You’ll now see open-eye and closed-eye icons next to your accounts. Tap the eye to toggle visibility.
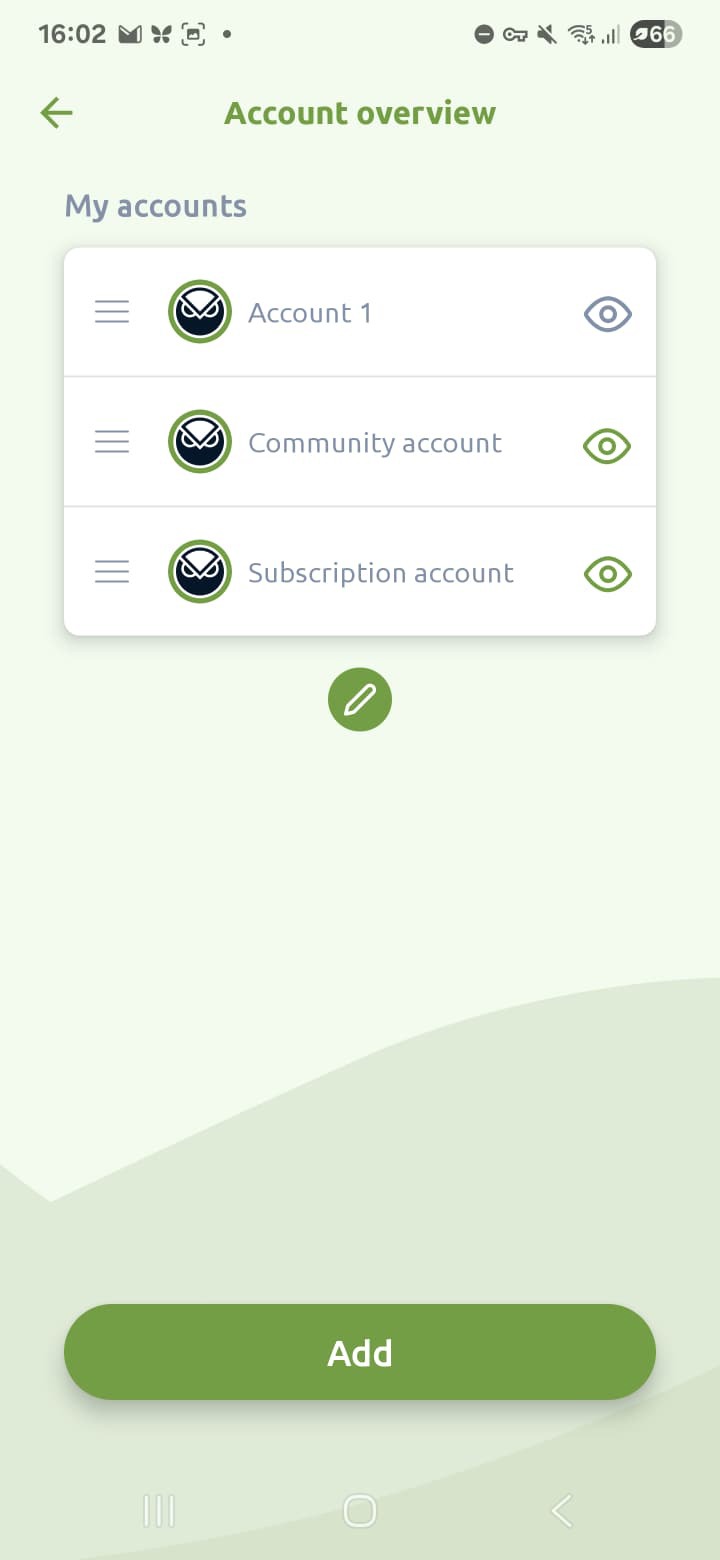
- Tap the pencil again or go back to save.

How to change to order of your accounts
If you keep multiple accounts visible, you may want to reorder them so your most-used accounts appear at the top:
- Go to Settings > Account management
- Tap the pencil icon below the list of accounts
- Drag the three-line icon next to any account to change its position
- Release to confirm the new order

- Tap the pencil again or go back to save.
Still have questions? Contact us via support@greenhoodwallet.com
